 |
| Copper Weave Stack Ring by York Avenue Studio |
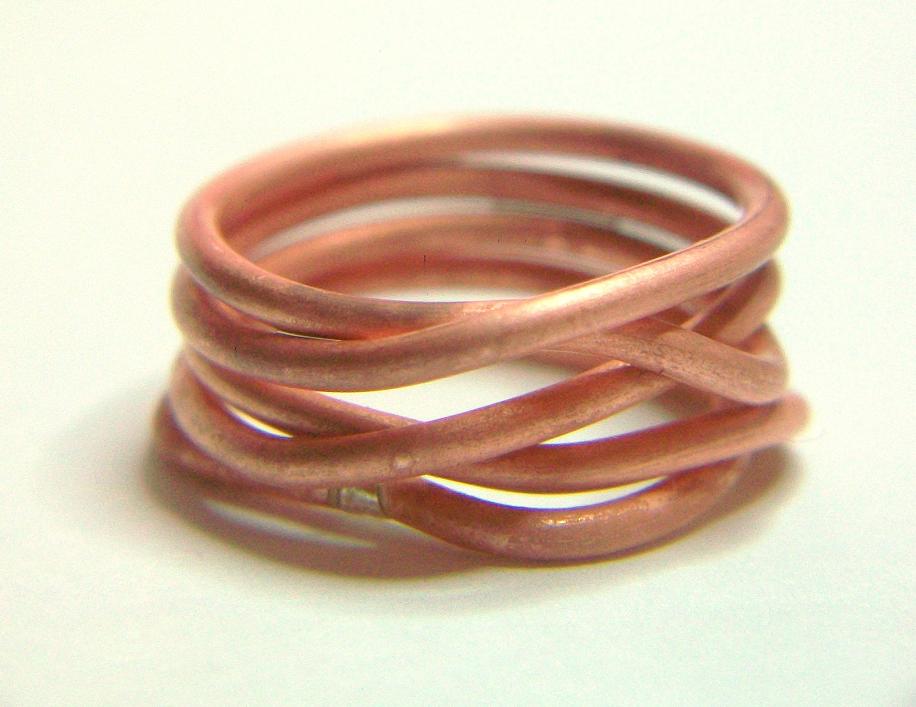
This statement ring looks like woven rings of bold copper and has an impressive wide band. Comfortable for ladies as well as gents, this ring is easy to make with a few tools and basic metal skills. I decided to share my steps in making this ring. Feel free to make one for yourself.
I start with about 12 inches of copper wire, round 14 gauge. Flush cut the ends and sand flat. Place the wire centered on a ring mandrel at the size you want your ring, maybe a little smaller. The ring will get larger with hammering at the end and you can size it right then. I’m making this ring a size 8, so I use the size 7 on the mandrel.
I wrap both sections, right and left, around the back of the mandrel, crossing in the middle and stop. Flip the mandrel so the cross section is facing me, this is now the front.
The wire that is at the bottom that crosses up over the top wire, this will be the first wire to work with. Continue with this wire around the mandrel along the top edge of the wire back to the front, stopping before reaching the front center.
I bring the second wire up to cross under the top wire. The wires will only cross in the front and line up in rows in the back. The cross overs in the front will alternate. Continue until you use up the wire, watching for the last completed row where the ends will still meet. Trim the ends to meet, preferably in the back of the ring.
Using pliers, line up the ends to touch and solder the joint. I left the solder joint silver, but copper color solder can also be used. Using a patina or pickle that is contaminated also will “plate” the joint more like copper color.
Return the ring to the mandrel and reform the bands with a rawhide mallet, shape the ring, line up the bands.
If the size is too small, hammer it larger. I use a steel hammer to make a hammered texture with facets.
Tumble with shot to polish and work harden the ring. Patina to darken or keep it shiny. Protect the finish with Ren Wax which also weatherproofs the ring.
The final ring has such smooth lines, nice texture and the pattern is nice for a subtle chic everyday ring.
If you make one, let me know, I'd love to see your photos, too!
Kathy
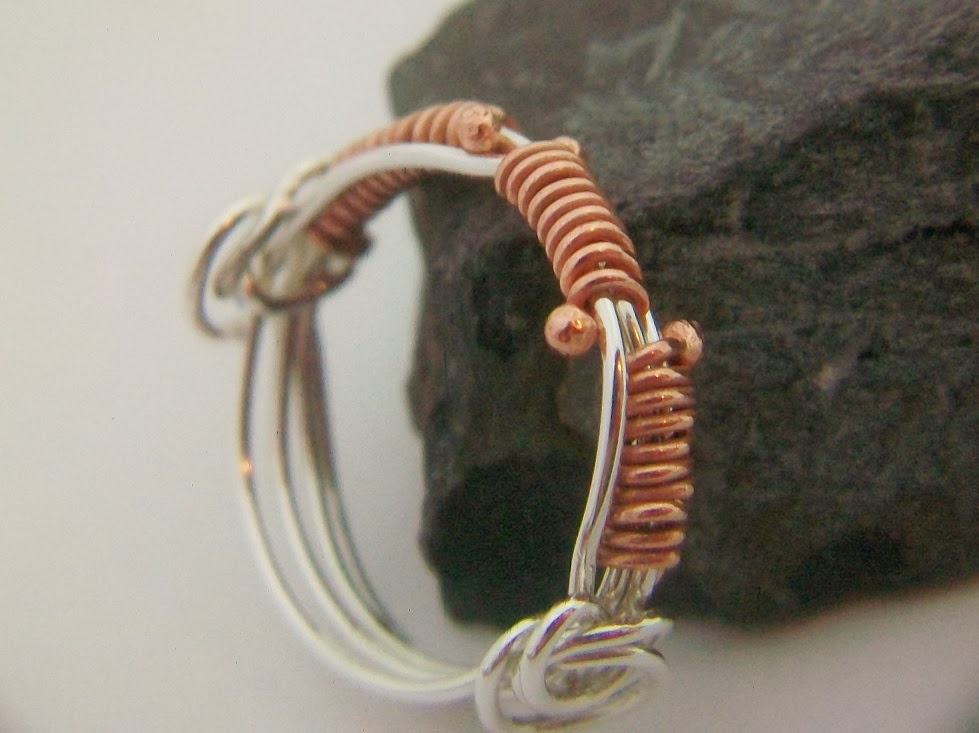
For another amazing copper ring tutorial, please visit my Etsy shop for the instant download PDF to make a Copper Ball Love Knot Friendship Ring by York Avenue Studio
https://www.etsy.com/listing/83350862/tutorial-pdf-wire-wrapping-copper-ball?ref=shop_home_active_14


Thank you for the neat tutorial! I have pinned it on my board on Pinterest and will be sure to let you know once I try one of my own!
ReplyDeleteDoing a Google search on how to make ZEBRA striped canes brought me to your site. Thanks for that tutorial too! You pretty much did was a I was thinking I needed to do...so seeing it before trying it out was nice! LOL
Fabulous tutorial! Thanks for sharing. I saw your post this Friday and spun up and soldered a ring on Saturday morning...by far my most favorite ring. I made mine larger and stacked the twists on top of one another to make a herringbone design. In silver with six bands on the back it would make a great wedding ring for a man and with just four bands it would be a fabulous wedding band for a woman. Thank you agSin for the ideas!!
ReplyDeleteThank you! Your comment made my day! Your ring sounds beautiful, and to hear how you went right into action to make your own, that sounds like something I would do!
DeleteKathy
Thanks for sharing, Kathy! By doing so, you are empowering us, women. With a lot of trends going about, it is easy to get your personal style carried away. But having a statement ring anchors you by embodying your character.
ReplyDeleteYou can simply buy a ring that looks exactly like this, but I would love to wear the one that I made with my own two hands! Of course, you can’t just tell anyone that you we’re the one who made it, but you can also put in the picture the meaning and purpose of this statement ring. ;)
ReplyDeleteLovely ring! I have instructions to make stacking copper rings on my blog, but I really love your design too. I love that I only have to solder once and the look is more interesting. Can't wait to try it.
ReplyDeletelOve it, love it, thank for share this tutorial...!!!
ReplyDeleteWelcome to all the readers of this tutorial! Over 4500 views and still counting! If you have a moment, leave a comment, I really enjoy reading them. Thank you for sharing!
ReplyDeleteI am having great difficulty with understanding the method.....guess my abstract skills are lacking.....any possibility of adding a video to clarify the process? I love the ring!
ReplyDeleteThank You for sharing this ring !
ReplyDeleteI love it and I'm making one for myself.
Thank You for sharing this ring !
ReplyDeleteI love it and I'm making one for myself.
I'm having trouble soldering the joint. I've tried so many times I've lost count! Help!!
ReplyDeleteHi! Soldering can be tricky some days for no reason it seems! I would advise pickle the piece nice and clean, file the two ends flush again, use lots of heat! Copper sucks heat up much more than silver and the solder will flow far sooner than the copper wire is ready for it unless you focus heat on the copper. Keep trying! My fingers are crossed for you!
DeleteIt is 2016 and your instructions are still the best. I am still working on the soldering.
ReplyDeleteThank you!! Let me know if I can help! I'd love to see what you made!
Delete