|
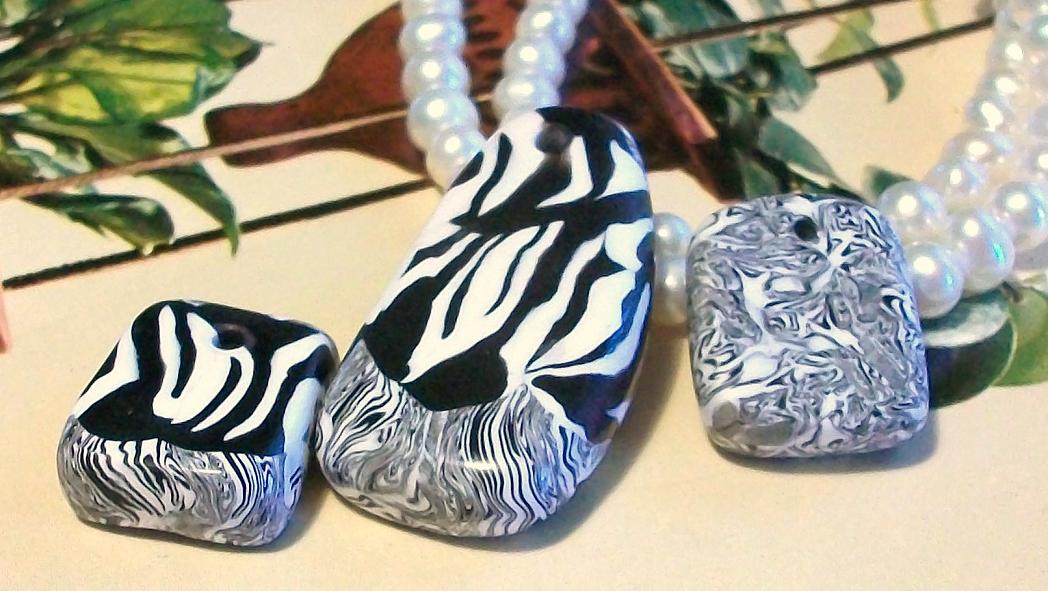
| Zebra Cane Beads by York Avenue Studio |
I find it amazing that something so gorgeous and in demand, like a Zebra Cane Tutorial, is very hard to find on the internet!! There are some zebra canes pre-made for sale, beads for sale made from canes, and for a fee, you might find access to a tutorial, maybe.
I started to think that maybe there is a conspiracy amidst the polymer-clay-ers not to share the zebra without membership. Hmm. I am new to polymer clay and must be over-thinking this....
Well, I'm going to post a Free Tutorial for a Zebra Cane in Polymer Clay, no coupon code needed, no membership fee or registration!
After having so much fun making my first cane ever recently, I decided I wanted to try a Zebra Cane. Since there wasn't a free tutorial to be found, I delved in and made one up! Maybe it was beginner's luck? It worked!
I hope you enjoy this tutorial and have great success making Zebra Canes in polymer clay!
By the way, if you happen to find another tutorial for Zebra Canes that is free online, leave a comment! I'm still thinking there must be a "silence pact" so we newbies have to pay to join in! Actually, I've found the polymer clay community very friendly and warm, so please don't pay any mind to my suspicions.
Simple Zebra Cane Tutorial for Polymer Clay by York Avenue Studio
With the Zebra Cane, you will be stacking layers that are equal in length with different widths. The overall width of the stack will determine how long your stripes will be. I made a simple, easy Zebra but you can make an elaborate Super Zebra with these basics, then add your own creativity.
Simply stacking layers of alternating black and white will give you a bar code stripe, not very much like a Zebra, but a nice general start. This is what I had in mind when making this cane. I kept it simple with some variations.
1. Condition some white and black polymer clay and divide into lumps. I use Premo brand and knead the clay in my fingers. I am only making a small cane so I used a small amount of clay. Divide an almost equal amount of each color into lumps, as each black lump will be a stripe and each white lump will be a stripe. Make several, depending on your style preference. I like bigger black stripes, you might like thinner black and larger white, etc.
2. I start out with one black lump and roll a log. The length will be the cane length. Then flatten the log, not perfect, as stripes tend to be wider then thinner. The flattened piece is the length and width of your cane. If you want it longer or wider, adjust now. I made a short, skinny cane because I was testing the method. I've learned that once you make a great cane, you wish it was bigger! This one was great but ran out fast!
In the photo below, I've made the first flattened black piece. I've also started a second black piece, which brings us to the next step.
3. Make a second black log about the same size as the first and flatten. Try to make them at least the same length. I ended up trimming mine to match. Lift the second piece and place it on the first, lined up length wise with the first piece, but off center about 1/3 of the width. Some of the strip will overhang on one side. Don't press yet.
4. Make a white log the same length as the black strips and flatten. Lift the top black layer holding the edge hanging over, leaving the other edge attached to the first layer. (It will look like an upside down capital T.) Take the white layer and line it up length wise with the black layers on the side you are lifting. The white layer goes on top of the first black layer. When the top black layer is placed back down, it should cover the white layer. Any clay that hangs over can be trimmed off and used later.
 |
| First black layer with second black layer lifted up, like upside down T |
 |
| White layer gets tucked beneath the two black layers |
5. Another white layer goes across the top, full length and width of stack.
6. Another black layer goes across the top, full length and width of stack.
7. I added a black layer on top of the last black layer and tucked another white layer between, just like steps 3 & 4.
Once you are finished layering your stripes, then trim the extras on all four sides and shape the stacked sides nice and flat, working the layers gently so they are pressed together.
Time to slice and see your creation!
I used the extras and lined them up length wise and rolled them into a log, folded the log length wise and rolled again into a log. This junk cane actually turned into a nice coordinating mini zebra pattern that I used to fill in spots on my beads. It almost looks like a Toile pattern on the back.
To make my beads, I used some junk clay as a core and used slices from my Zebra cane to cover the outside. I positioned the slices just so which helped the pattern appear to continue on. I used my fingers to work the slices together and a round toothpick as a mini roller to smooth the seams.
 |
| Zebra Cane Beads by York Avenue Studio |
 |
| Zebra Cube Charm Necklace by York Avenue Studio - Front |
 |
| Zebra Cube Charm Necklace by York Avenue Studio - Back |
 |
| Zebra Stripe Copper Post Earrings by York Avenue Studio |
Kathy